
As a guitar player, you know that proper guitar maintenance and setup are vital for keeping your instrument in top shape. I’ve been building and repairing electric guitars for the better part of twenty years, and I’ve seen what happens when a guitar is neglected—especially with the wild humidity swings we get here in SE Wisconsin.
The good news? With a little knowledge and a few basic tools, you can handle most maintenance yourself and save a trip to the repair shop.
1. Daily Cleaning & General Maintenance
Keeping your guitar clean doesn’t just make it look good; it protects the finish and the hardware.
- The Post-Gig Wipe Down: After every session, use a soft, lint-free cloth to wipe the body, neck, and strings. This removes sweat and oils that corrode strings and dull your finish.
- Skip the Windex: Avoid household cleaners. Use guitar-specific polishes or a slightly damp microfiber cloth.
- Check the Hardware: Give your tuning machines and bridge a quick look for loose screws. Vibrations from playing can loosen these over time.
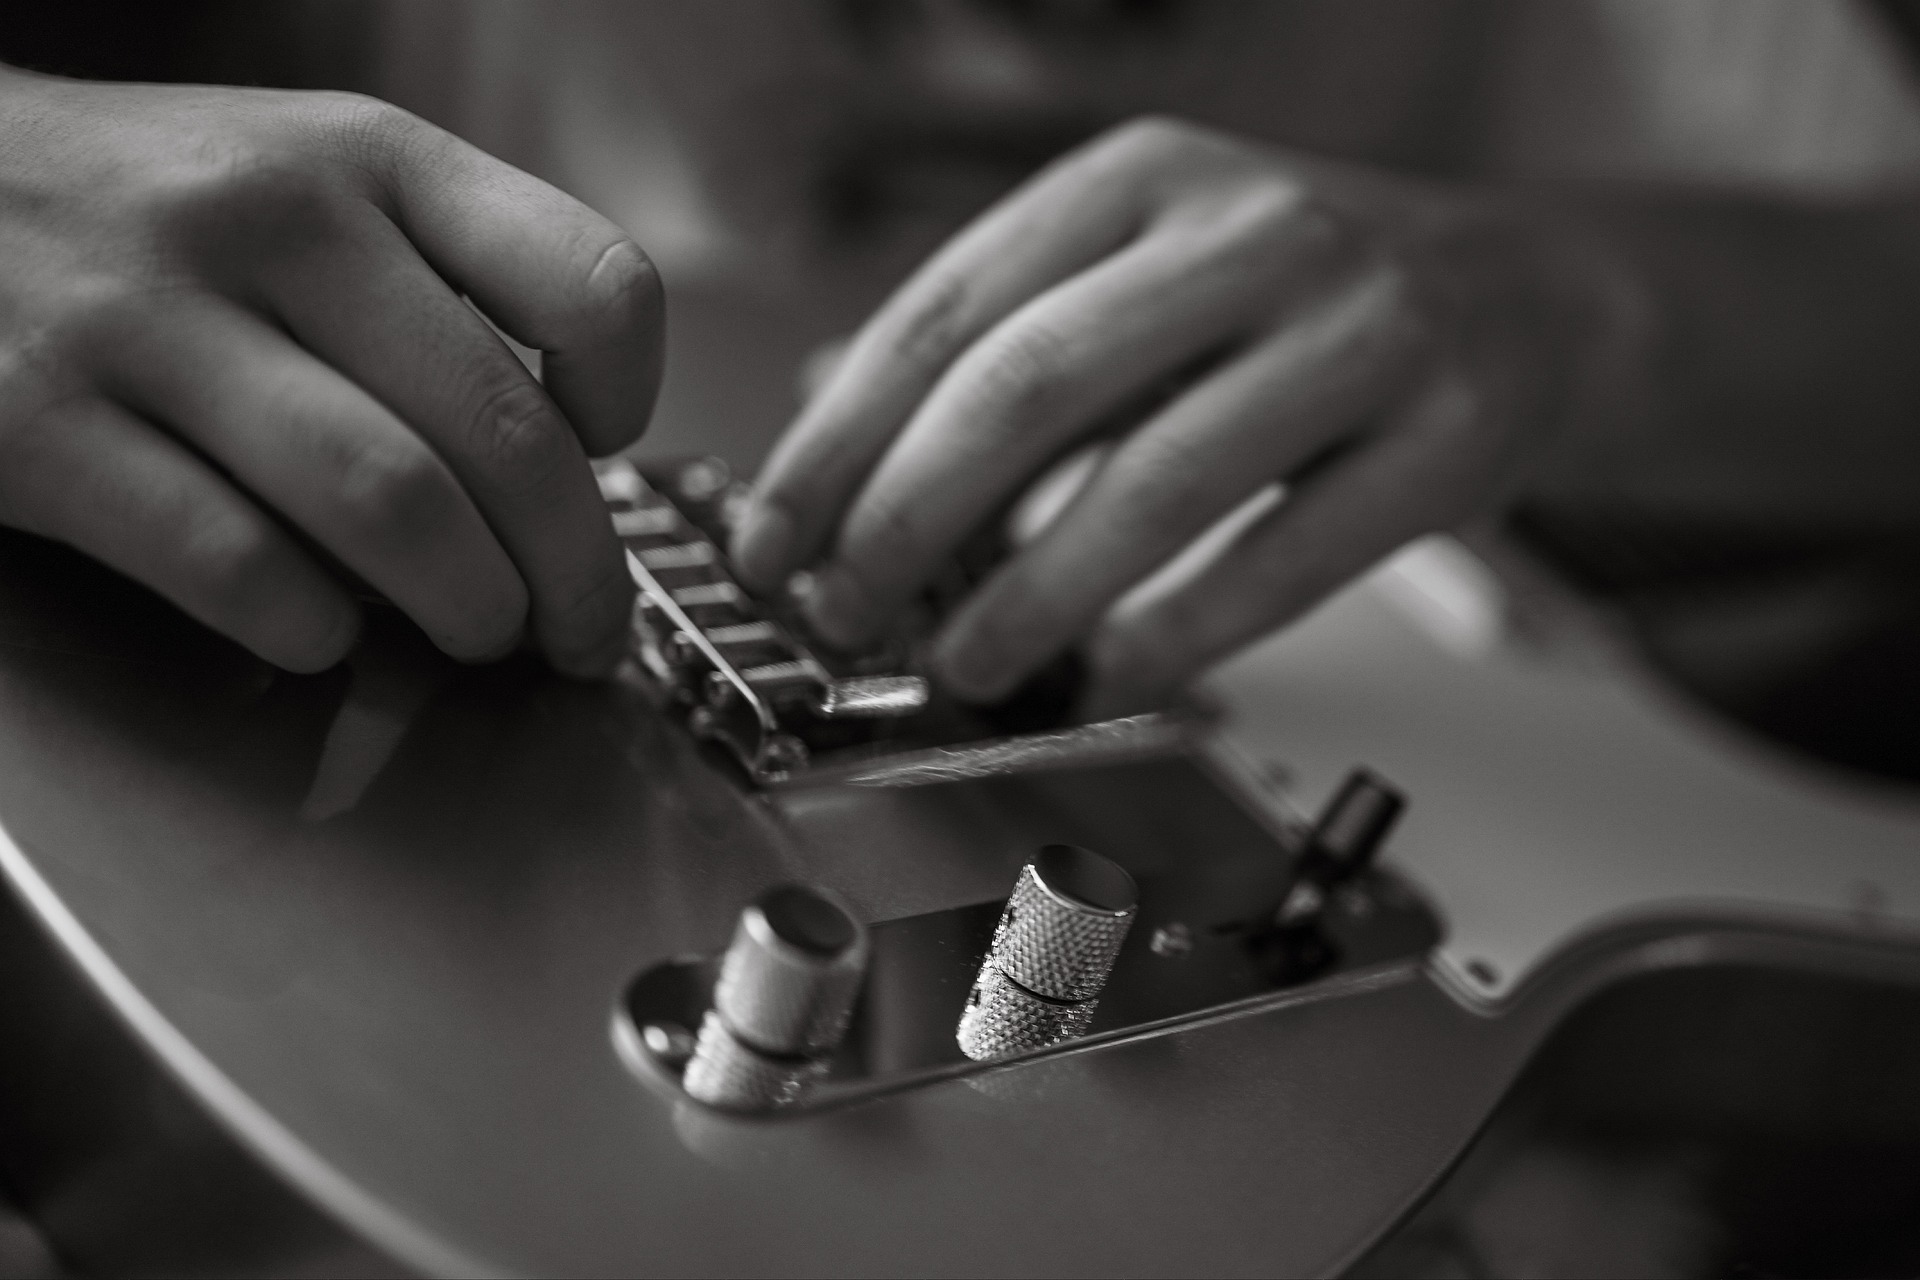
2. Changing Strings Like a Pro
Old strings sound dull and feel “gritty.” For a fresh, vibrant tone, aim to change them every 3–4 weeks if you’re playing daily.
- Clean the Fretboard: When the strings are off, it’s the perfect time to clean the wood. I personally use Parker & Baily Lemon Oil (you can find it at ACE Hardware in Mukwonago). Just a small amount goes a long way.
- The “Four Inch” Slack Rule: When installing new strings, hold the string about four inches above the fretboard before you start winding. This gives you the perfect amount of “wrap” around the tuning peg for stability.
- Stretch Them Out: Once tuned to pitch, gently tug on the strings and retune. This minimizes those annoying tuning slips during your first hour of playing.
3. The “Wisconsin Switch”: Truss Rod Adjustments
In Southeast Wisconsin, we often need a truss rod adjustment in the spring and fall as the temperature and humidity shift. This controls the “bow” of your neck.
- Righty-Tighty: Turning the nut clockwise (tightening) flattens the neck to fix “too much relief” (high action in the middle of the neck).
- Lefty-Loosey: Turning counterclockwise adds more bow if your strings are buzzing against the frets.
- Pro Tip: Only move in quarter-turn increments. Let the wood settle for a few hours before adjusting again.
4. Basic Setup: Action and Intonation
A great guitar setup makes the difference between an instrument that fights you and one that plays effortlessly.
- Action: Adjust your bridge height. Low action is easier on the fingers, but too low will cause “fret buzz.”
- Intonation: If your guitar is in tune at the nut but sounds “off” at the 12th fret, your saddles need adjusting.
- Pickup Height: If your sound is too quiet or distorted, try raising or lowering your pickups to find the “sweet spot.”
Guitar Maintenance Checklist
| Frequency | Task |
| Every Play | Wipe down strings and body |
| Monthly | Change strings and check for loose hardware |
| Seasonally | Check neck relief (Truss Rod) and Intonation |
| Yearly | Deep clean and oil the fretboard |
Need a Hands-On Lesson?
If your guitar still feels “off” or you’re nervous about making that first truss rod turn, I can help. During our guitar lessons in Mukwonago, I’m happy to show you exactly how to maintain your specific instrument so it always plays its best.